Docker, for the Swarm!
Monday August 27, 2018
Docker is a container management platform and is a rather new way of thinking about administration. It’s a tool to manage containers, and GigeNET mainly uses containers to manage processes on an individual level. Let’s take a step back to discuss what a container consists of. Containers are a method of virtualization much like virtual machines but without the emulation overhead. They all share a common kernel but maintain their own operating system configurations. Think of them as a more complicated chroot. Knowing this, it’s easy to see how containers can be used as a perfect method to isolate system services like Traefik and maintain a simplified method to build out applications in its entirety. We have demonstrated this on a previous blog about Traefik.
Docker Swarm is a core feature of Docker that brings process isolation to the mainstream by allowing process scaling, and high availability through its clustering software. With Docker Swarm, you have two types of nodes. A manager node that manages the swarm, container provisioning, overlay networks, and various other services. Then you have Docker worker nodes that are purely work horses, and simply run the containers themselves.
Now that we have a slight overview, let’s jump into configuring a Docker setup with Swarm enabled. We will be running this exercise on CentOS 7, and utilize the EPEL repository. To install Docker run the following commands:
~]# yum install docker -y
~]# systemctl start docker
~]# systemctl enable docker
Docker should now be installed, and we can start working on initializing the Docker swarm setup. To do this we need to run the docker swarm init command on the host you want to elect as the manager. The manager still runs the containers, but remember it’s also in charge of managing the clustering services.
Swarm initialized: current node (d1vm3qz3awt7vpod7hvx79r6m) is now a manager.
To add a worker to this swarm, run the following command:
The instructions given by Docker are pretty clear. It provides a token and the advertisement IP of the Docker manager node. If the token ever gets lost it can be simply recreated with the following command docker swarm join-token worker. Let’s run the command on the worker node now.
This node joined a swarm as a worker.
The Docker cluster should now have been initiated, and you can now easily view the Docker nodes statuses with docker node ls. Looking at the node listing output you should notice that the manager node has a status of Leader. Since Docker can have more than a single manager for high availability the primary manager is elected as the leader. Other managers that have not been elected as the leader are then labeled with the status reachable.
ID HOSTNAME STATUS AVAILABILITY MANAGER STATUS
758sih0xq5h6hgiwav3av051x dkrblog2 Ready Active
d1vm3qz3awt7vpod7hvx79r6m * dkrblog1 Ready Active Leader
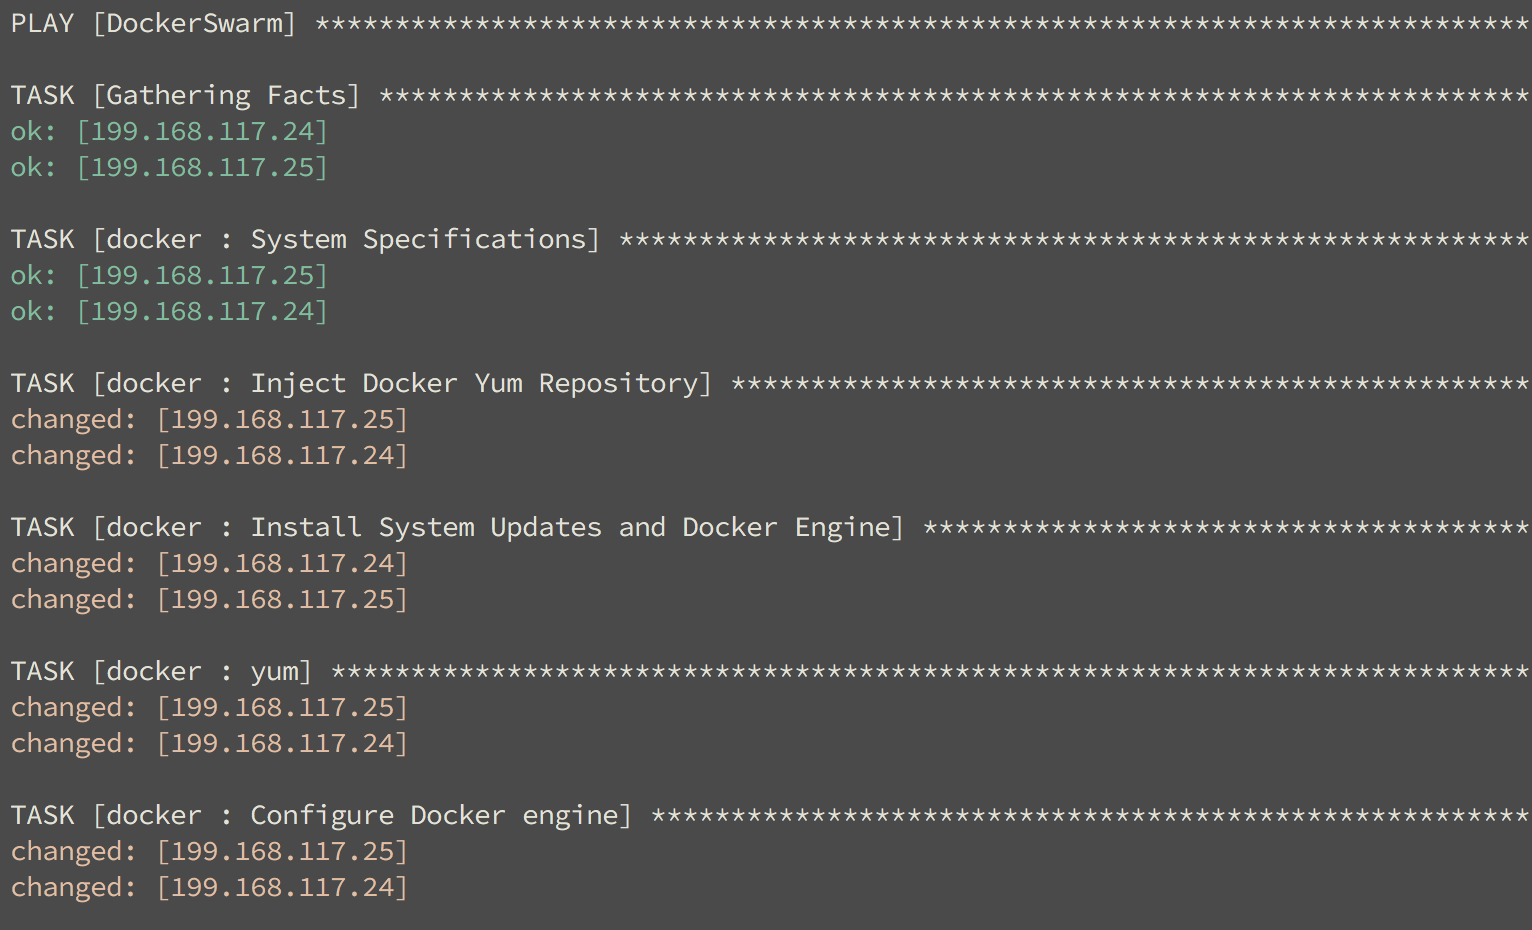
The entire setup didn’t take a lot of effort to do by hand, but I always try to automate every task I might do more than once. Sadly, Ansible still does not have a module to manage the Docker service on this level. I built a simple Ansible role to build out a Docker swarm configuration, and it can be retrieved from our git repository here https://github.com/gigenet-projects/blog-data/tree/master/dockerblog1. Running the playbook, you should see something similar to the output shown, and refer to the git repository for a more detailed guide. If you are new to Ansible take a look at the cheat sheet to Ansible blog here https://www.gigenet.com/blog/your-ansible-cheat-sheet-to-playbooks.

With the live Docker cluster deployed, let’s have some fun and run a simple example against it. We will start out by running a basic Nginx service that has spawns two containers with the default Welcome to Nginx index page. This example is basically the HelloWorld of the Docker universe, and I personally use it sometimes to perform a quick test to check if a Docker cluster is functioning properly.
If you are familiar with Docker you should notice we are not running a container directly with docker run, but instead creating a service with the name GigeNET_Blog. We tell the services we want two of the same containers, and we want to expose Nginx’s port 80 to the Docker hosts port 80. Without the published argument the docker service would not be reachable from the outside. If the clustered setup is configured properly you should now see this page:

To see a more advanced usage of Docker Swarm head over to our Traefik blog, and we will show you how to build a Docker compose service that heavily utilizes the Docker swarm services. It also goes into more advanced features like the network overlays, and you get to learn a little more about a leading container edge router that is Traefik.
Sound like a bit too much for your workload? Learn more about how GigeNET’s sysadmins can make your life easier or chat with our specialists.